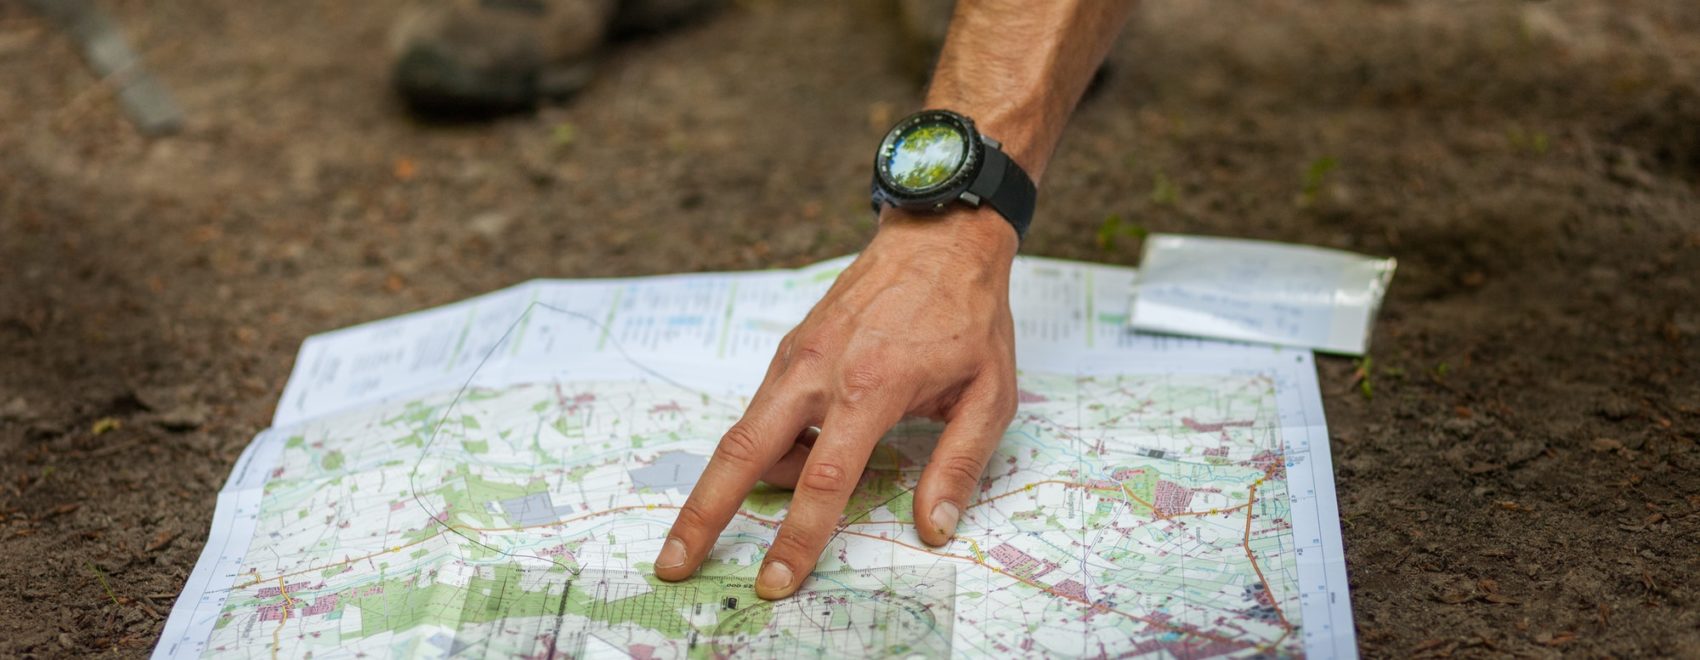
Why Should You Learn Wilderness Navigation Skills?
Survival often dictates that we make do with the materials we have on hand. Although it would be nice to have an electronic GPS unit with an unlimited supply of batteries at our disposal, we should be capable of navigating through any terrain – day or night – without expensive tools.
After all, a catastrophic event may force us to evacuate quickly with only a small bag of supplies. Without a way to navigate effectively, you could easily spend hours or days walking around in circles. This guide explains the basics of wilderness navigation techniques.
Using a Compass for Wilderness Navigation
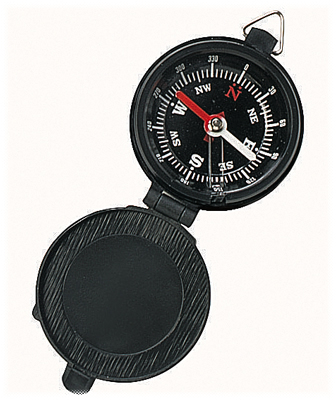
A compass is a very powerful and reliable tool for wilderness navigation. Everyone should have one or more in their bug out bag.
They are small and inexpensive so there’s really no reason why you and your family shouldn’t have a few of them strategically placed among your survival gear.
Just as important as having a compass is the ability to use it correctly. The key thing to remember with any compass is that the red part of the needle always faces North.
To travel in a direction other than North, simply rotate the compass housing so that the direction you want to travel is perfectly aligned with the “Direction Traveling” line and rotate your body until the red part of the compass needle points to the N on the housing.
It may seem simple, but you would be amazed by how many people do this incorrectly and travel in the wrong direction as a result. Also make sure to take new compass readings often and avoid holding your compass near any metal objects on your person or supplies to prevent false readings.
Alternative Wilderness Navigation Techniques
Of course, having a compass at your disposal for navigation is great, but it isn’t always possible. Maybe it accidentally got left behind when you evacuated quickly or it could have been lost during your escape to safety.
Either way, it is imperative that you understand how to navigate without a compass in the event you ever find yourself in a survival situation.
Fortunately, there are quite a few ways to navigate during the daytime and in the evening by relying on some basic navigational knowledge.
Using the Sun to Find Direction
Although there are some seasonal variations, the sun always rises in the East and sets in the West. In the northern hemisphere, the sun is due South when it is at its highest point in the sky. You can tell when the sun is at its highest point when objects cast no noticeable shadows.
“There are two primary ways to use the sun as a navigational tool. The first relies on shadows and the second uses a watch.”
Shadow Tip Method
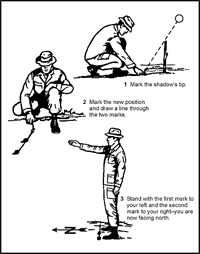
To get your bearings using this method, find a straight stick approximately 3 feet long. Look for a level spot that is relatively free from brush where the stick will be able to cast a definite shadow.
- Place the stick into the ground and mark the tip of the shadow with a stone, a twig, or simply a mark in the ground. This mark represents West, no matter where you are in the world.
- Wait approximately 10 – 15 minutes until the tip of the shadow has moved slightly. Mark the tip of the shadow at this point as well.
- Draw a straight line through the two marks – this is an approximate East-West line.
- By standing with the first mark on your left side and the second mark on your right, you are facing North.
Although the shadow tip method is not 100% accurate, it is useful anywhere in the world and is a quick way to get an approximate orientation.
Watch Method
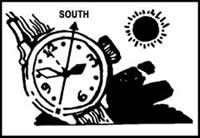
If you know exactly what time it is, you can determine your direction using the sun. The easiest way to accomplish this method is to use an analog watch (one with hands).
If you only have a digital watch, you can draw a circle on a piece of paper with the correct time on it to accomplish the same goal.
This method requires that you use the true local time (not daylight savings time). If your watch is set to daylight savings time, you will have to adjust slightly for accurate results.
- Hold the watch horizontally and point the hour hand at the sun.
- Bisect the angle (cut in half) between the hour hand and the 12 o’clock mark on the watch. This is your North-South line.
- If you aren’t sure which end of the line is North, remember that the sun rises in the East, sets in the West, and is due South at noon.
- If your watch is set on daylight savings time, bisect the angle between the hour hand and the 1 o’clock mark on the watch to account for the time difference.
Using the Moon
You can also use the moon to get an approximate East-West reference during the night. Unfortunately, it is not as accurate as some of the other methods, but if it’s all you have, it will suffice until daylight gives you more accurate options.
Basically, if the moon rises before the sun has set; the illuminated side will be the West. If the moon rises after midnight, the illuminated side is the East.
Using the Stars for Wilderness Navigation

If you’re fortunate enough to have visible stars above you, you can navigate accurately during the nighttime hours. There are two constellations that you can use to successfully locate Polaris (the North Star) – the Big Dipper and Cassiopeia.
These constellations never set which means that if you have a clear night, you can use these constellations to locate Polaris and locate true North consistently.
These two constellations are located directly opposite each other and rotate counterclockwise around Polaris. The two stars forming the outer lip of the Big Dipper are known as “pointer stars” because if you draw an imaginary line through them and continue approximately 5 times the distance between the pointer stars, you will find Polaris.
Cassiopeia has five stars that form a “W” shape on its side. Polaris is straight out from Cassiopeia’s center star.
The reason you should use both is because Polaris actually forms part of the handle of the Little Dipper and relying on both means you will not accidentally confuse the Big and Little Dipper constellations. Once you have successfully located the North Star, draw an imaginary line directly to earth – this is true North.
Using Tree Growth Patterns for Wilderness Navigation
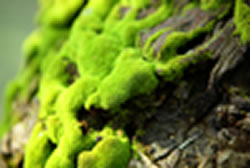
On a cloudy day or a starless night, you may have a more difficult time orientating yourself. However, it is possible to navigate effectively if you recognize some basic patterns in nature that can give you helpful clues about direction.
For instance, if there are fallen trees in the area, look at the stumps. Growth is more vigorous on the side that points toward the equator (East – West) and the tree growth rings will be more widely spaced.
Tree growth rings will be closer together on the side toward the poles (North – South). Of course, this alone does not give you enough information to establish direction but some other clues may also help.
If you’re familiar with the area, prevailing wind directions can help you establish direction. This isn’t always accurate, however, and could be outright wrong following a natural disaster or some other catastrophic event that affects local weather patterns.
If there are mountains in the area, remember that the North facing slopes receive less sun then South facing slopes. These northern slopes are typically cooler and damper. Even in the summer months, many North facing slopes retain small patches of snow. In the winter, trees and open areas on South facing slopes are the first to experience snow melt.
Learn and Practice Wilderness Navigation Skills
Using any one or a combination of these methods should give you a relatively accurate sense of direction in any situation. Learn several navigation techniques and practice those techniques before you need them. A survival situation is not the time to learn a new skill, so prepare ahead of time.
Almost as important as knowing what direction you’re traveling in, is knowing what direction you should be traveling. In addition to studying basic survival skills and wilderness navigation techniques, you should also spend time understanding the geography of your local area.
If a catastrophic event ever forces you to evacuate quickly, you will have a general idea of which direction provides the best chances for safety such as a secondary bug out location you may have already set up or an area protected by natural borders.
Continue Tutorial Below
Read More
Read More

Read More
Read More

Read More

