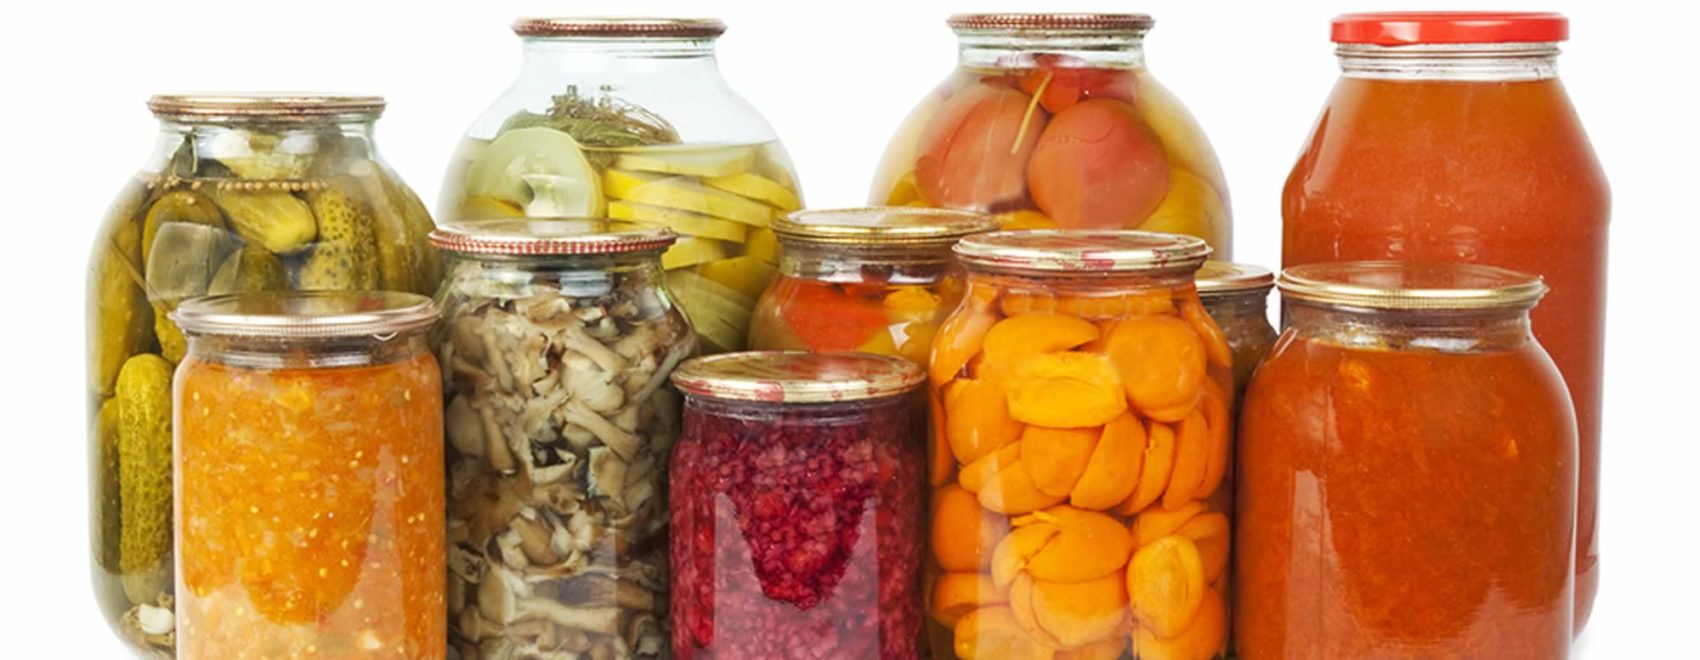
Preserving Your Harvest
So once you’ve embarked on your homestead garden, you need to have some sort of plan to handle the bushels of produce you’re going to have come harvest time. That’s assuming your garden is large enough to produce more than your family will use up right away. One of the greatest joys of a garden is being able to store up your food to provide for your family once winter sets in.
Methods of Preserving Food
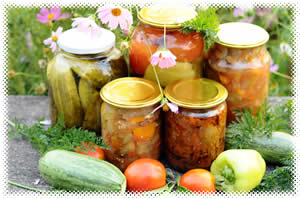
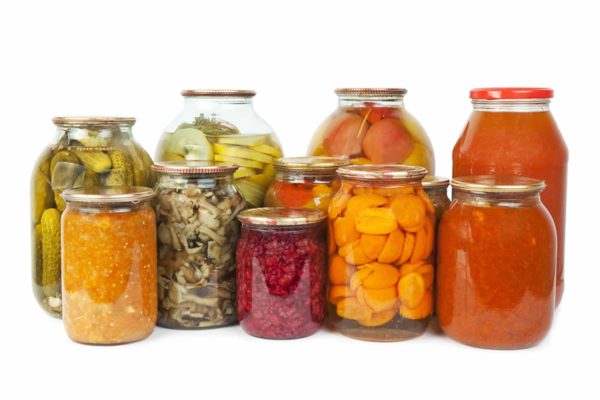
There are many ways to learn how to preserve food from your garden, and you will likely have to do a little experimenting to see what works best for you. The most common practice is canning, which is sealing up your food in glass jars under high heat. Canning food is a little expensive at first because you have to buy a canner as well as a collection of proper glass jars, rings and lids.
But once you get going, the only thing you need to buy again will be more lids (they are the only non-reusable aspect of canning). Canned foods will last many months or even years, depending on the food and they are shelf-stable which means you can store them anywhere. Local colleges and your county farm bureau often hold classes on how to preserve food, and the cost is usually minimal.
Freezing foods is a little less time-consuming and won’t require any special gear other than freezer bags or wrapping paper. However, you will be limited to the size of your freezer, and your storage could be at risk when the power goes out.
Dehydrating Food
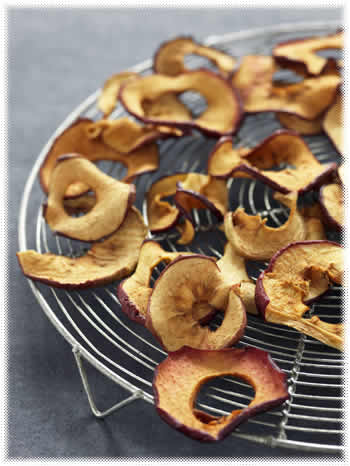
Dehydrating is starting to really become popular for storing some foods because dried foods last a very long time and are shelf-stable. The texture isn’t always the best after they’ve been re-hydrated, but that really depends on the type of food. A dehydrator and storage bags are your only investment. It will take more time to dry food (many hours per batch) and it can be hard to dry a huge harvest because each batch can take so long. It’s a great option though if you’re just learning how to preserve food.
Root Cellar
Finally, the classic root cellar is something else to consider, especially if you have a cold basement or actual dug cellar to work with. With the right environment, some foods will last for months (or even all winter) with no processing at all. Root vegetables, squash, cabbage and apples are all great root cellar candidates. Learning how to preserve food is one of the best ways to maximize the food from your harvest and build up food storage for future use.
Storing Your Food
Once you learn how to preserve food, you can concentrate on how to best store your food, and this will depend on how you’ve processed it. Frozen foods will obviously need to stay in the freezer, but the others are going to need some space elsewhere in your home. Try to keep things in a cool, dark, dry place as much as possible. Everything lasts longer if you can protect your food from harsh temperatures or sunlight.
Label everything with dates and rotate your stock. That is, use the oldest items first so that nothing goes bad and you keep the freshest on hand for use.
Emergency Storage
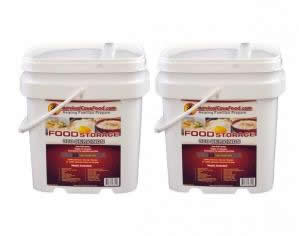
Now, if you want to be prepared for an emergency, it is a good idea to have a sizable store of food even if you aren’t preserving your own garden harvest. If you’re looking to store food for an emergency, you should stick to shelf-stable foods that will last a long time. Your best option for a long term emergency food supply is prepackaged survival food, which has a shelf life of 20 -25 years. The food is either dehydrated or freeze dried and sealed in special pouches that keep the contents fresh. The packets come in re-sealable buckets that can be stacked for compact storage, and they only need hot water for food preparation.
Obviously, these survival foods would complement your supply of canned foods (vegetables, fruits, meats, pasta) and dry foods (rice, beans, pasta) that have been stored for emergency use. These can last for years in a cool place and can give you some security if something was to happen and you couldn’t do any shopping.
Have at least a week’s worth of food on hand, but try for a month. Don’t forget to have water (unless you can draw from your own well without electricity), some first aid supplies, candles and matches, hygiene items and other basic supplies in your emergency stash as well.
Continue Tutorial Below

Read More
Read More
Read More
Read More
Read More
Read More

Read More
Read More
Read More
Read More
Read More

