Disaster Preparedness Plan – Where Do You Start?
Whether you’re preparing for natural disasters, terrorist attacks, or even a zombie apocalypse, there are some common steps that you need to take. By the end of this article, you’re going to know where you should start your prepping adventure and you’ll know how to build a basic survival kit and have a disaster preparedness plan that will get you through a short-term emergency. Let’s get started on our disaster preparedness plan guide.
1. Disaster Preparedness Plan: Know Your Local Threats
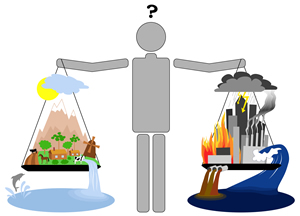
As any good survival guide will tell you, the first step to a good disaster preparedness plan is knowing what you’re preparing FOR. Now that doesn’t mean that you shouldn’t prepare for the unforeseen, but knowing what’s most likely to come at you really helps. It seems that every region of the US has its own unique threats. The west coast has earthquakes, the eastern coastal regions have hurricanes, the Midwest has tornadoes, and everybody but the southernmost part of the country has blizzards.
There are also the random events; floods, fires, freak storms, terrorist attacks, etc. that you need to consider. Knowing what threats are most likely to come your way will greatly help you when you’re making disaster preparedness plans.
2. Create a Disaster Preparedness Plan and Practice It!
It’s important that your family knows what to do in case of emergency. Trying to pick a safe place to meet while a tornado is coming through the back yard isn’t exactly ideal.
We’ll discuss this in more depth later on in the survival guide, but for now, make sure that everybody knows what to do and where to meet in case you get separated.
3. Make an Inventory Sheet of Your Valuables
Record the serial numbers, purchase dates, and physical descriptions of your valuables so that you know what you have. After a tornado blows your house away is no time to try to remember what kind of TV you had, or how many crystal goblets were in Grandma’s set. Take pictures, too, even if it’s just a general picture of each part of your house. This will help with insurance claims and disaster aid.
4. Start Picking Up Extra Things When You Shop

You need to start building your stockpile as soon as possible. Make a list of foodstuffs and non-perishables that you’re going to need and take it with you to the store. This doesn’t require a huge investment all at once.
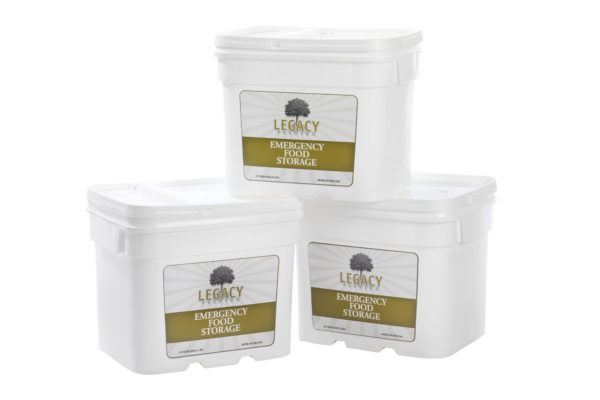
Just pick up a few extra things each time you shop. For example, instead of buying 1 pack of toilet paper, buy 2. Throw four cans of soup into the cart instead of two. It really is as simple as that and before you know it, you’ll have a nice supply started. Take advantage of coupons and buy one get one free promotions at the store, it’s a great way to build up your supply. For more information on how to begin your food storage, see our article here.
5. Disaster Preparedness Plan: Build a Basic Survival Kit
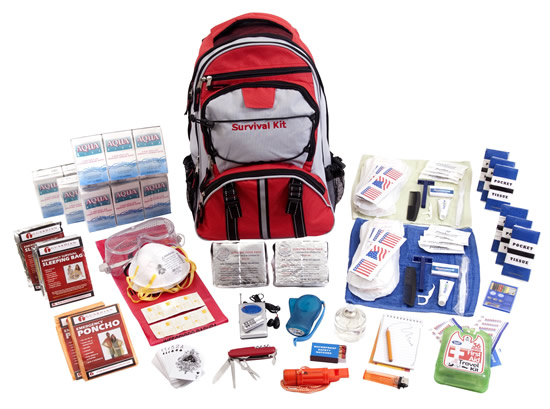
One of the most important steps in creating a disaster preparedness plan is the survival kit. Don’t make this more complicated than it is, and don’t mistake niceties for necessities. All that goes in this kit is tools that you’ll need to survive. What goes in it depends upon your individual needs, but think in terms of a home emergency kit and a separate on the go kit (bug out bag) when determining the contents. Here’s a list of must-haves:
- Prescription medicine and eyeglasses
- Flashlights and extra batteries, at least one should be an LED flashlight with extra batteries
- First aid kit
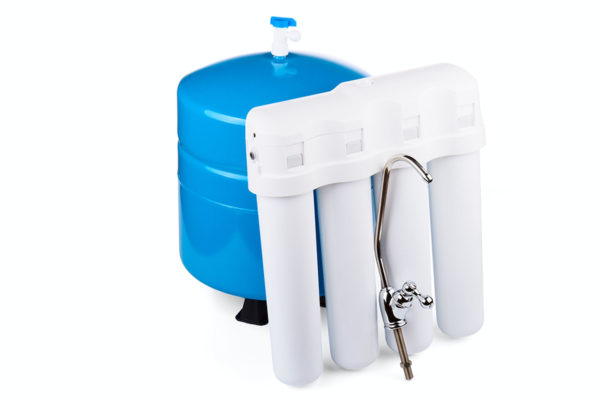
- At least 1 gallon of water per person, per day (ideally, 2 gallons per person per day). For more on water collection and storage methods.
- Enough cash to get you through at least 3 days, assuming you may need to travel
- Enough nutritious nonperishable food such as power bars, ready to eat meals and canned foods to last for 3 days
- Enough pet food and water if applicable to last for 3 days
- Manual Can Opener
- Maps of local area
- Metal Can – store your matches, whistle, and other small items in it to keep them dry and to save space. You can also use it to drink out of or to catch water. You can use the can for water collection or sanitation
- Pocket Knife, preferably a Swiss-Army type one with pliers, knife, can opener, etc.
- Matches and striker sealed in waterproof container; Fire starters such as Vaseline dipped cotton balls, toilet paper tubes with lint, etc.
- A whistle to call out to rescue workers
- 2 changes of weather-appropriate clothing per person, including underwear and socks.
- Water purification tabs or a small bottle of bleach with a dropper
- Your “docs box” with your important documents. For more on this, see our article here.
- A weather radio with fresh batteries
- A list of relevant phone numbers including family members
- Mylar blankets for warmth
- Duct tape
- Wet wipes or baby wipes for cleaning
- Hygiene products - toothbrush, tooth paste, deodorant, feminine products
- Plastic utensils and paper plates
- Just for kicks, throw in a deck of cards or something to help pass the time if you’re stuck
This is just a basic kit but it will get you through for a few days. Depending upon your particular situation and preferences, you may choose to add or replace some items. Keep it manageable, though. You can also buy pre-made 72-hour kits if you’d rather. Remember to rotate the stock in your kit and keep the doc box up to date.
6. Disaster Preparedness Plan: Put Together a Waste Sanitation Kit

Any reliable survival guide will tell you that sanitation and hygiene are really important in a disaster scenario. It’s not pretty to think about, but what if your toilet won’t work? It’s not exactly the most pleasant aspect of prepping but it’s a possibility that you need to prepare for. Putting together a basic sanitation kit is easy - you can do it with these items:
- 2 5-gallon buckets with a lids (one for liquids, one for solids)
- Kitchen garbage bags
- Chlorinated lime (found at home improvement stores) or cat litter
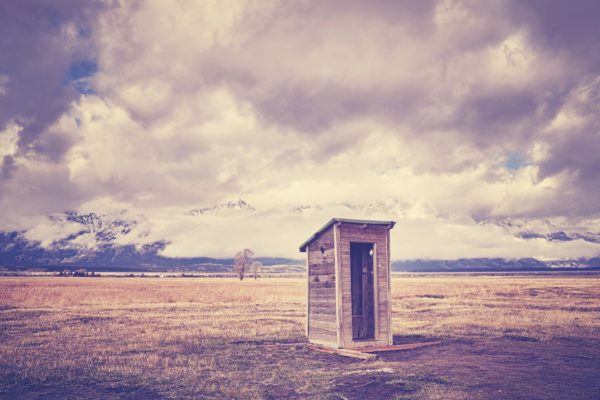
Liquids can generally be dumped somewhere non-invasive because urine is typically sterile and doesn’t represent quite the same health risks that fecal matter does. If you’d rather, you can also buy a kit with a toilet seat, use a camp-style portable toilet, or build an outhouse if you live in a rural area.
7. Prepare for the Most Likely Disasters Ahead of Time

If you’ve ever dealt with a natural disaster such as a hurricane or blizzard, you don’t need a disaster preparedness guide to tell you that grocery stores are the first stores to be cleared out. Home improvement and hardware stores become clogged with panicked people snatching every single piece of plywood and case of water available. The stores generally run out of inventory WAY before they run out of people who need it.
Make your hurricane shutters or build and stock your safe room in the off season when there’s no risk of a storm and supplies are plentiful.
8. Keep Your Home and Property Ready
You want your home to be as safe as possible so keep up with your maintenance. Trim any trees that may be close enough to fall on you and keep your roof, siding and windows in good repair. Also keep your yard clear of debris that become flying missiles, and keep your outbuildings in good shape, too. These may seem like minor details now, but when your windows don’t break because of flying garbage or lackadaisical care, you’ll be grateful to have expended the effort.
9. Have an Alternative Heat and Cooking source
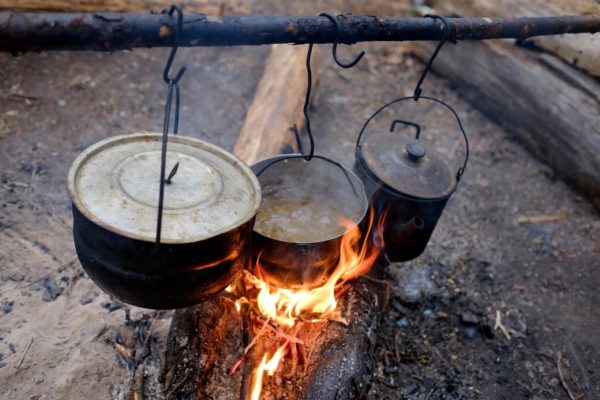
It’s entirely possible to live on cold canned green beans, but it’s not exactly a good time. Pick up an inexpensive camp stove or stock up on firewood, charcoal and fuel for your grill.
10. Generator or Inverter for Power Outages
If at all possible, pick up a generator or, at the very least, an electrical inverter that you plug into your car so that you can run simple electrical items.
Portable solar chargers are inexpensive and can charge your computer and cell phone with just a small amount of sun.Though not strictly necessary, it’s really nice, if only to be able to charge your phone or run an electrical cooler.
Start Your Disaster Preparedness Plan Now
Being a prepper doesn’t mean anything other than you’re a person who’s prepared to take care of yourself and your family in a disaster. By following the steps outlined in our disaster preparedness guide, you’re going to be ready for short-term survival should you need to make it for a few days without access to food, water, or outside resources.
Continue Tutorial Below
Read More
Read More
Read More
Read More
Read More
Read More
Read More
Read More
Read More

Read More
Read More
Read More
Read More
Read More
Read More
Read More

